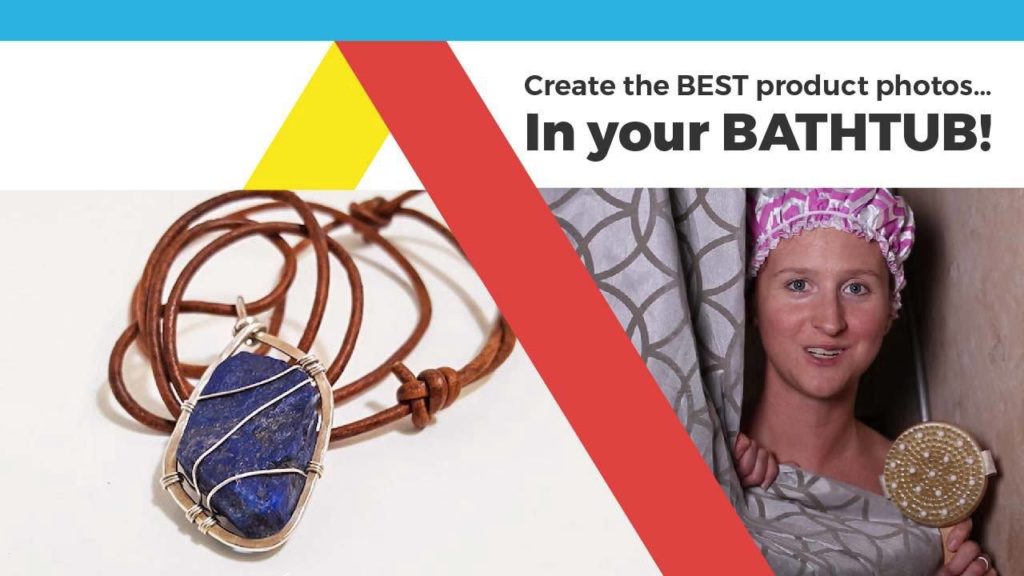
Here’s What We’re Covering:
- Steps For Simple DIY Product Photography
- Use Your Phone As A Camera
- Get Your Backdrop Ready for Your DIY Product Photography
- Set Up Your Lighting
- Apply Post-Processing Techniques On Your DIY Product Photography
- Wrapping This Up…
Steps For Simple DIY Product Photography
DIY Product Photography is not meant to be difficult.
Especially on Amazon, you need to get a customer to trust you and it has nothing to do with the amount of money you spend on a studio or equipment. It doesn’t matter if you’re doing retail arbitrage or private labeling. Great photos make a huge difference!
Please don’t go out and spend a ton of money on a DSLR camera even if you can find cheap rental options. Think about your bottom line and help yourself by saving some money upfront.
Once you pick a profitable product you want to sell, the next thing is to make sure your listing is fully optimized. The largest sticking point in a fully optimized product listing is the photography.
Use your smartphone.
Your phone has incredible specs and it’s more than capable of doing the job.
People think this is what DIY Product Photography looks like.
Amazon product listings are becoming more and more competitive so if you want to stand out without spending a lot of money I recommend using this method.
Creating your own private label brand allows you to control your business from the beginning. There’s no need to spend so much money in the beginning of your Amazon journey.
1. Use Your Phone As A Camera
Let’s look at what’s out there! Most of the smartphones that are out there today come fully loaded with incredible cameras. I would assume that our readers have these smartphones if not then you can borrow one for your Amazon product listings .
Here are a few phones with great features.
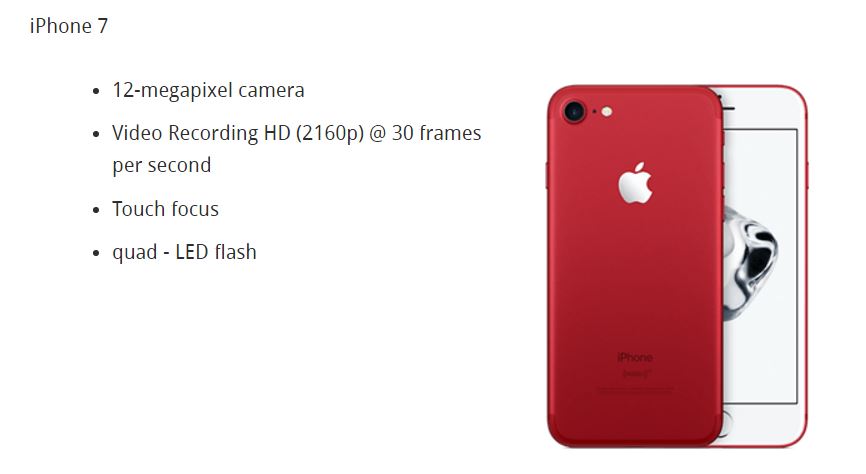
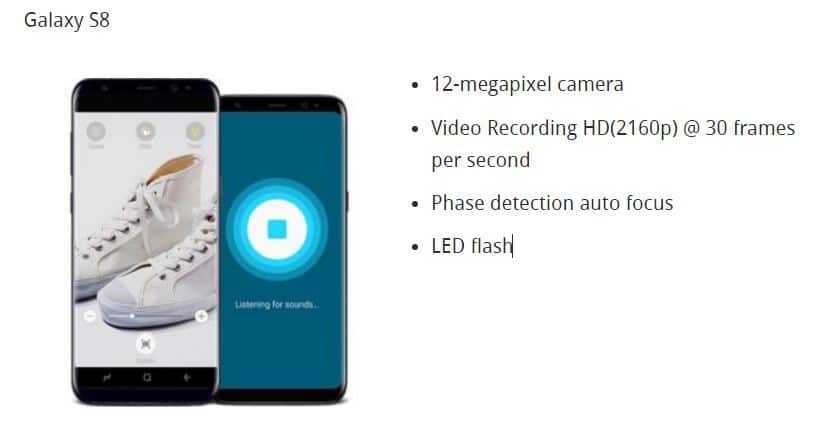
Honestly, you should always put yourself in the consumer’s shoes to discover what these hungry buyers really want out of an Amazon shopping experience. Great images are the first step to convincing the customer they landed on a relevant product page!
Photos keep eyes on your product listing.
DIY Product Photography Video
2. Get Your Backdrop Ready for Your DIY Product Photography
It might seem like you’d need a ridiculous $30k setup of multiple cameras, backdrops, and locations for an incredible Amazon product listing, but don’t be fooled.
We live in an era of history that boasts entire major label music videos filmed expressly on iPhones.
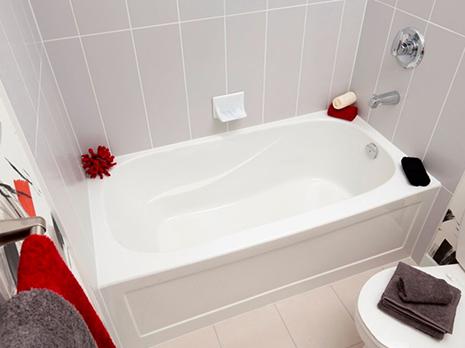
If it’s good enough for Warner Brothers, you best believe it’s good enough for you. Get your bathtub cleaned and ready for the shoot!
🧠 PROTIP: Plan on using external lights? Avoid yellow and go white.
Yes, you can actually use the inside of your tub to take some surprisingly flattering product photos that would sell on Amazon.
The bathtub is very ideal for product photography. The curves at the bottom of the tub eliminate the annoying, eye-catching corners that other sets can’t hide.
If you’ve ever seen a professional shoot, they will often drape a white sheet behind the subject of the photo and let it rest on the floor instead of flushing it to the wall.
This creates a soft, seamless background that keeps the focus on the subject: in this case, what you are trying to sell on Amazon.
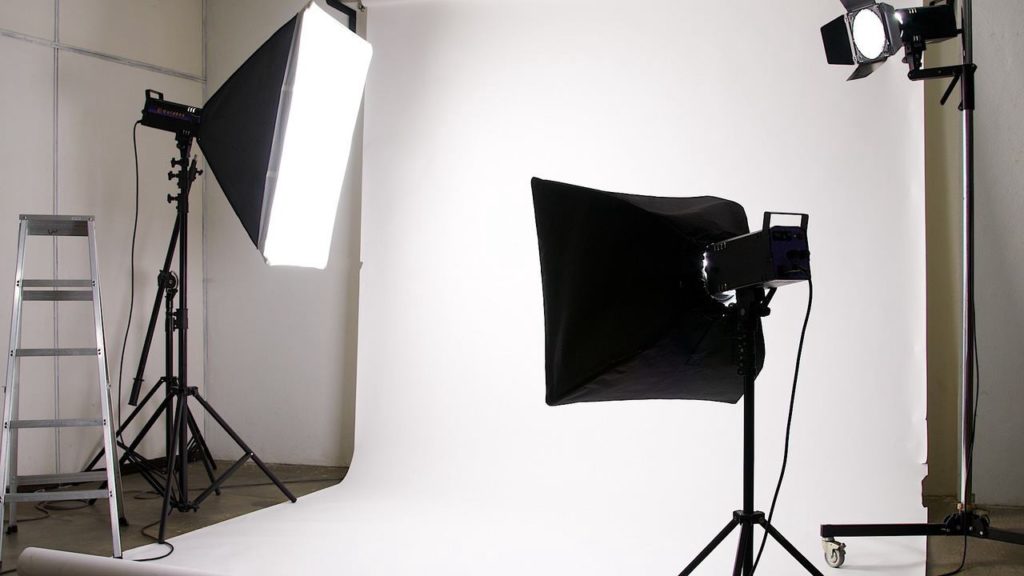
Also, most bathtubs are white (or close to it), featureless, and perfect for reflecting much-needed light back onto your Amazon product listing.
3. Set Up Your Lighting
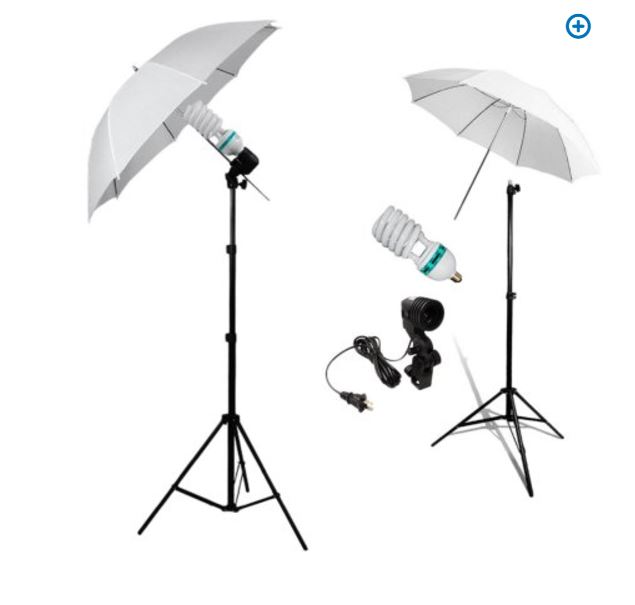
Lighting on product listings is a huge factor, and most likely you don’t have lighting equipment lying around to use at a moments notice.
We found a cheap alternative in Walmart! For under $30 you can buy a light to make the conditions look just right for your product listing.
The bathtub surface is especially friendly for product photography, as it could very well erase the need to flood the product with light from multiple sources.
If you are taking this DIY photography route, be sure to actually clean your surface before you shoot your photos.
If there’s hair or some soap scum underneath that necklace, the consumer’s eyes will not easily focus on the photo.
4. Apply Post-Processing Techniques On Your DIY Product Photography
In case your tub has scratches and stains, there are also ways around this, so don’t panic just yet.
These online tools can make your product photography look professional — if you know how to use them.
For instance, did you know..
You can adjust the white balance of a product photo to kick out any eerie yellowish hues and keep your product image looking crispy clean?
A quick online edit can dissolve any scratch mark or shadow that is distracting the viewer’s from your product listing.
Sites like Pixlr.com and Lunapic.com allow you to tweak and enhance your photos online?
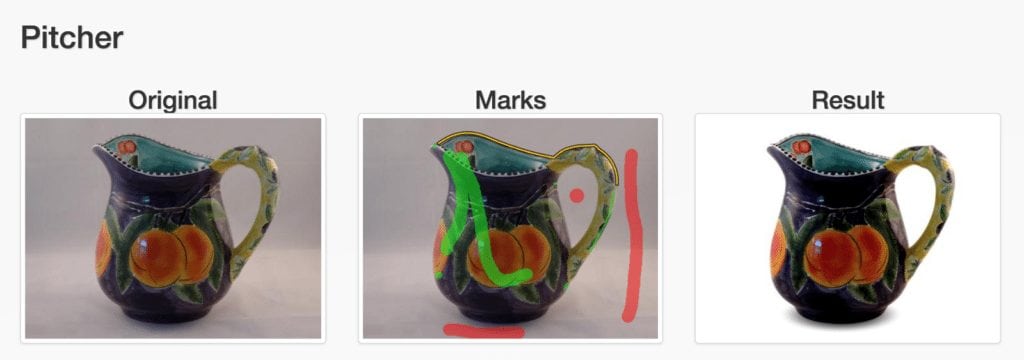
Using ClippingMagic.com, you can instantly remove image backgrounds with the click of a button?
Here’s a little example of what Clipping Magic can do for your product photo:
Wrapping This Up…
With a smartphone, a computer, and a bathtub you can build an impressive photo resume and really wow the consumers browsing your Amazon product listing.
Clean, clear photos could very well mean the difference between a closed browser window and a sale.
With these tips, I hope you can take some incredible DIY Product Photos on a budget!
Read more:
We decided to invite Erick Rodriguez founder of Virtuous Graphics and total product photography badass to introduce you to the concept of DIY Amazon product photography.

Hi…Thanks for the great ideas for bathroom photography.
But…you don’t show how to use the umbrella photography light for the bathtub photos…. I am a total novice, and went out and bought the kit for the photos for the bathtub
Also, the referenced video from the lady on your page used totally different lighting means (a large square light)
Can you direct me as to how I could use the umbrella light with my bathtub photos please.
Thanks
Brenda
Hi Maureen,
Thanks for the creative idea! The link to the Walmart does not work on this page. Can you tell me which is the lighting you can get from Walmart for under thirty bucks??
Dear Ms Stalma, you have saved me a fortune! I have a built in flash that I put sophisticated diffuser over (toilet paper) and voila!
Thank you so much.
awesome. Give me a reason to refit the bathroom out and set it off as a business expense on my tax 🙂
One could also rent a hotel room and use their impeccably clean tub for a night!
You’re completely right Lori! Something we didn’t even think of for a quick photo shoot!
Great article!! Now; if only I had a decent bathtub that was white and not some trendy pinkish, almondy, looking crap from the 1970s. Nonetheless, thanks for this, hadn’t even considered using a bathtub…………but I will now. I suppose, push come to shove, a person could always drape a sheet inside the bathtub which would give you the bright white and none of the annoying glare.
Get your bath re-enamelled and you get a new bath and backdrop. Otherwise use a piece of white cloth against one side.
Exactly, you can take a sheet and drape it over the bathtub for the same effect 🙂
The glare is extremely annoying Tim! Placing tissue paper over the lighting helps to soften the white light a little.
I needed to read this article earlier in the day. The product I photographed was too big for the light box I made. I finally just stuck white poster board on a table and set the product on it.
Light boxes can be a total pain sometimes. The poster board is not a terrible idea at all but if you have a lot of overhead lighting above the table it can make some annoying shadows.